How to Decorate Your Christmas Tree with Eva Smith
A step by step guide for maximum sparkle and magic.
This week is accidentally Christmas decor week at Let’s Party HQ, which is really helpful for me because the way Thanksgiving fell this year, I feel scattered and behind in my holiday decorating, so I need all the motivation I can get.
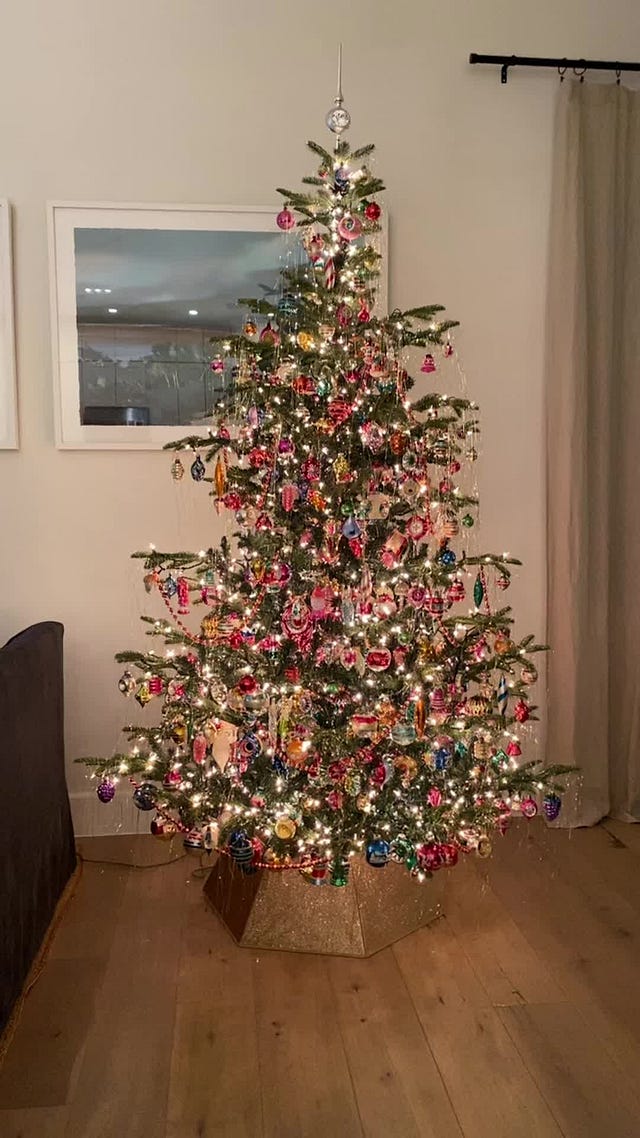
Last year, I was scrolling on TikTok when I was stopped dead in my tracks. Eva Smith, @evasmithholiday posted a video of her tree and like a bolt of lightening it hit me— I needed a tree like this.
 Tiktok failed to load.
Enable 3rd party cookies or use another browser
It came at the perfect moment, because as a first time New Yorker, I was feeling really sad about switching to a faux tree. Between our radiators drying out our garland overnight and the insane prices of the street trees in our neighborhood, my husband and I made the tough decision to invest in a fake tree. I told myself that I always wanted to be a two tree house eventually, so we’d be able to return to a real tree when we had more space.
But it was Eva’s tree that really sealed the deal for me. I was a woman obsessed! I immediately ordered her exact tree and began my hunt for vintage ornaments across eBay, Etsy and Poshmark. When my tree arrived and I unboxed it, thanks to her guidance, I knew not to panic and trust the process.
This year, Eva is posting even more videos on her page and racking up millions of views. Despite being in the middle of a move, Eva is giving the people exactly what they want. Her tree clearly strikes a chord with audiences. It’s warm, it’s chic, it’s nostalgic, and it’s so stunning.
Personally, I have never loved one of my own trees more than my tree last year. I would stare at it alone in the living room just mesmerized. I’m so glad I found Eva and that she was generous enough to share her process with all of us. Eva actually went above and beyond for her fans and made videos for each step of the tree building process, which you’ll see linked in our guide below.
Fair warning, this is not a project for the faint of heart, but boy is it worth it. Let’s dive in shall we?
Shannon: Hi Eva! Can you introduce yourself to our readers?
Eva: Hi, Shannon! Honored to be one of your Party People! I create seasonal content centered around my vintage Christmas tree. My work is all about capturing the nostalgia, timeless charm, and wonder of childhood holiday memories. It’s so exciting to be part of a growing community of creators who embrace vintage holiday decor, especially as more people are drawn to rekindling the magic of Christmases past. I love connecting with my audience and sharing in the joy and sentiment my tree inspires.
Last year I was screen-shotting your TikToks like a madwoman and ordering vintage Shiny Brite ornaments on eBay at all hours of the night. I thought we’d make this handy dandy guide for readers but before we begin, how long have you been doing your tree like this? What was the inspo?
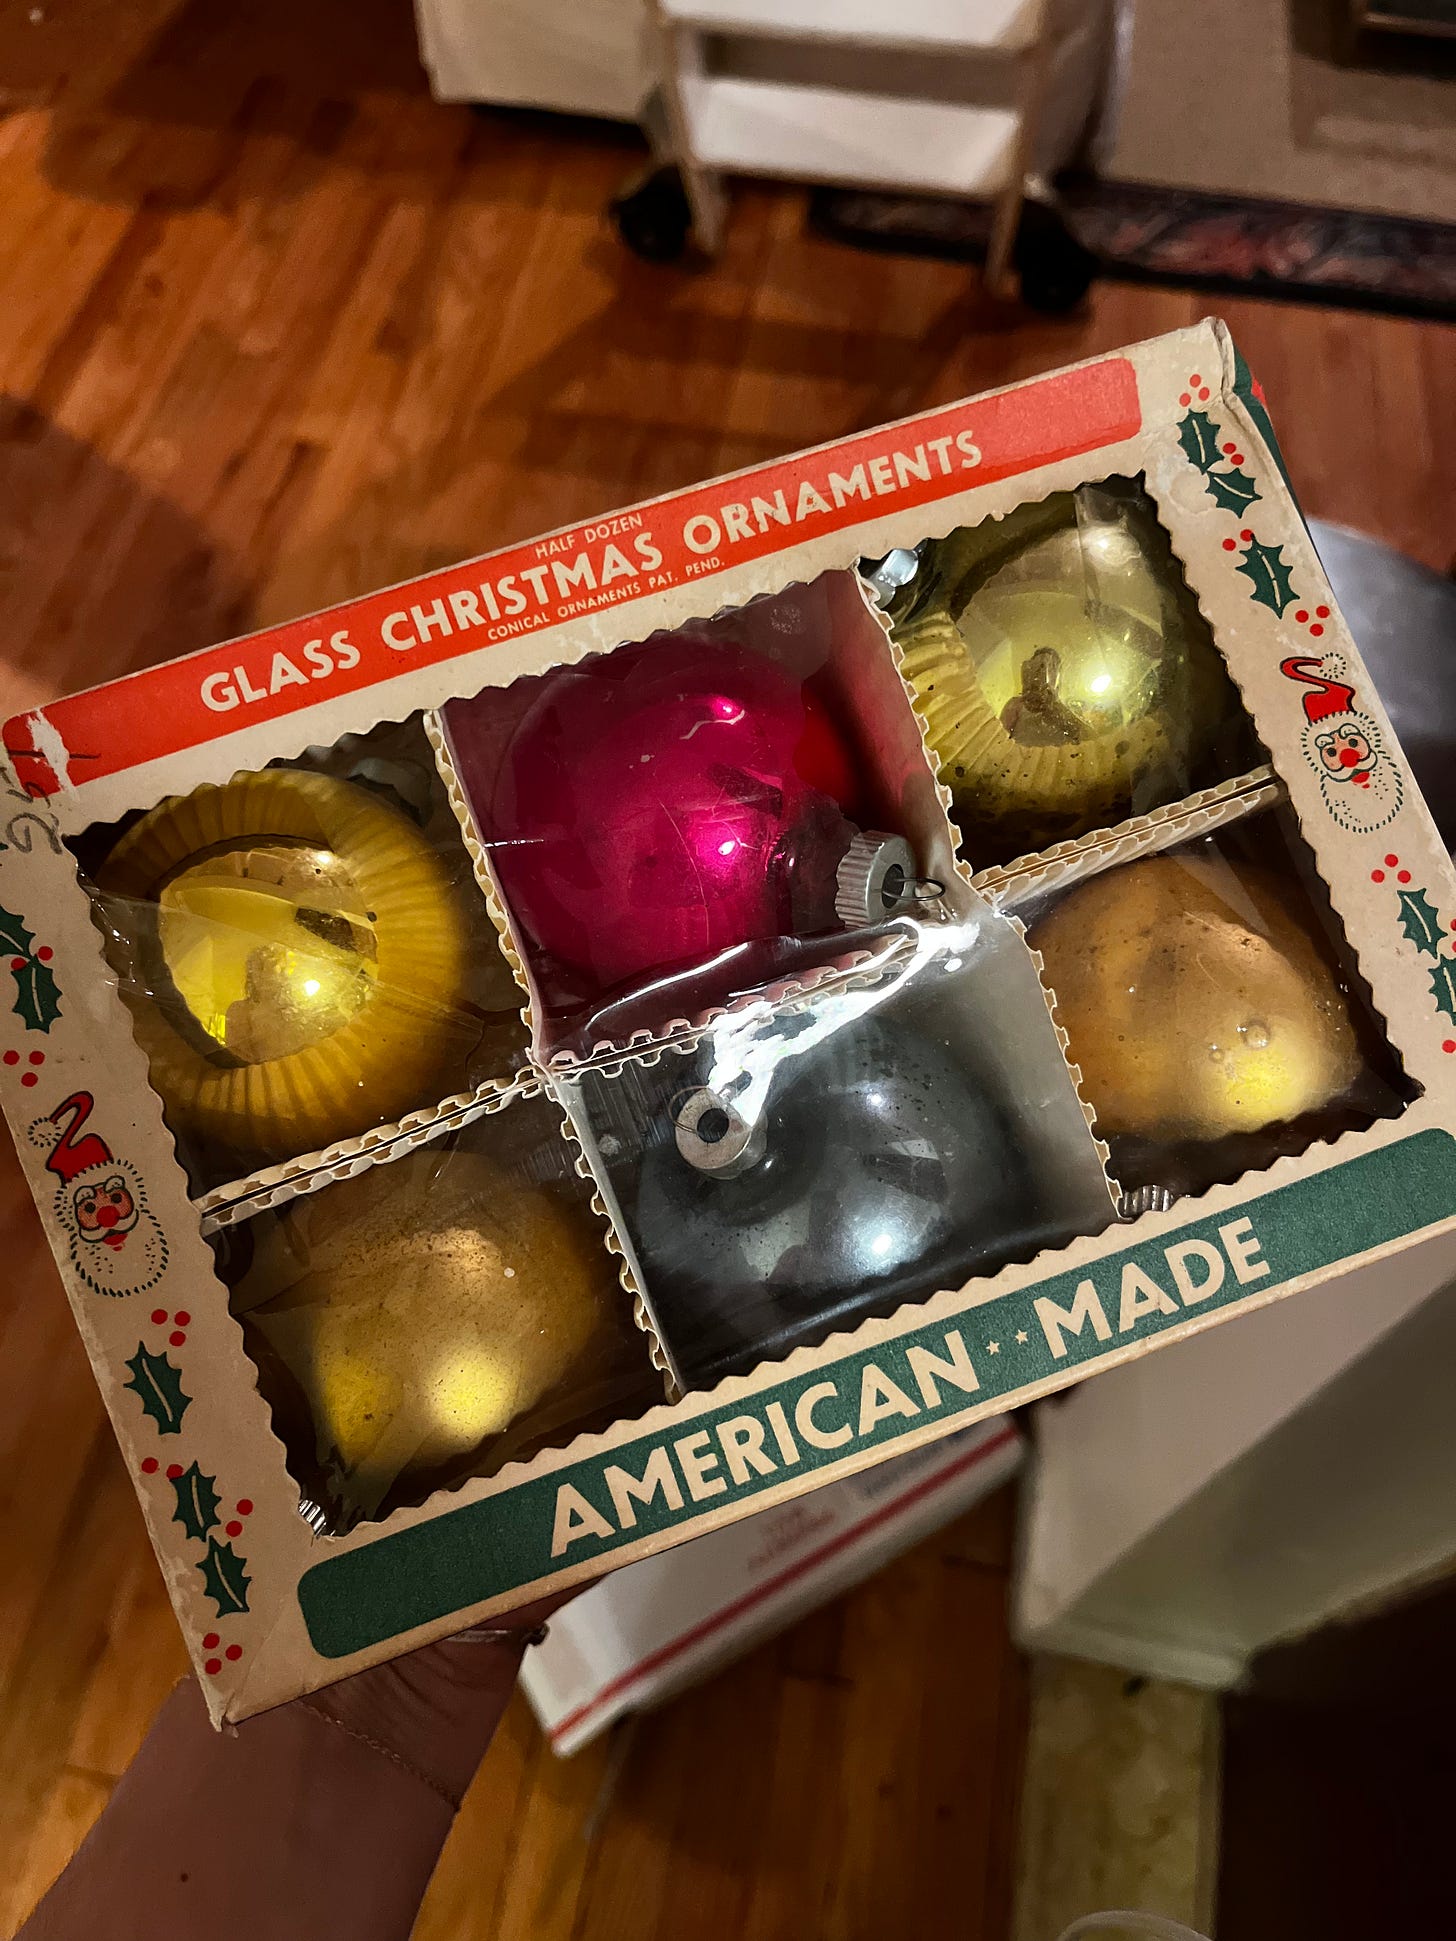
I've been collecting vintage Christmas ornaments for years, but it wasn’t until recently that my collection grew large enough to fill an entire tree.
It’s hard to say exactly where my inspiration comes from! I’ve always been captivated by the midcentury era (1940s-60s) and have loved Christmas for as long as I can remember. My tree is really a perfect blend of those passions. I also owe so much to the creative influence of others, like Erika Kikola, Leben Riebe, and Artful Roger, whose unique perspectives and inspiring work continue to fuel my own ideas.
For me, collecting vintage ornaments is more than just a hobby—it’s a way to connect with the past and honor my inner child. It sounds silly but it’s true! I truly believe that Christmas decorating is one of the purest forms of self-expression, and I love how each piece on my tree tells its own story while contributing to a larger sense of holiday joy.
Okay first things first. Real or fake tree for this project?
I prefer using a realistic artificial tree, and my top pick is the National Tree Company 7.5' Norwegian Spruce. Its beautifully sparse design allows each ornament to take center stage, while the organic, slightly whimsical shape adds charm and character. Plus, the sturdy branches are perfect for holding a large number of ornaments without sagging—an absolute must for someone (like me) trying to get 600+ ornaments on there!
That said, you can achieve this look with a real tree or another artificial option. The key is choosing a tree with a more open structure and less dense foliage than a traditional, fuller tree. This gives your ornaments space to stand out and lets the tree’s natural beauty shine through.
Probably the most asked question: where and how are you sourcing all your vintage goodies?
There are so many ways to find great vintage ornaments! I’ve had the most luck on HiBid, an online auction platform. I also keep an eye on Facebook Marketplace and local estate sales, and when I’m searching for something specific, I turn to eBay, Mercari, and Etsy. Each of these platforms has its own treasures waiting to be discovered!
EVA’S ULTIMATE CHRISTMAS TREE GUIDE:
Step One: Assemble: (Trust the process and try not to cry if your faux tree looks like a twig?)
I’ve refined my process a bit since last year, so bear with me. Assemble the tree but don’t fluff it yet! And yes, trust the process!
Step Two: Lights, pt. 1
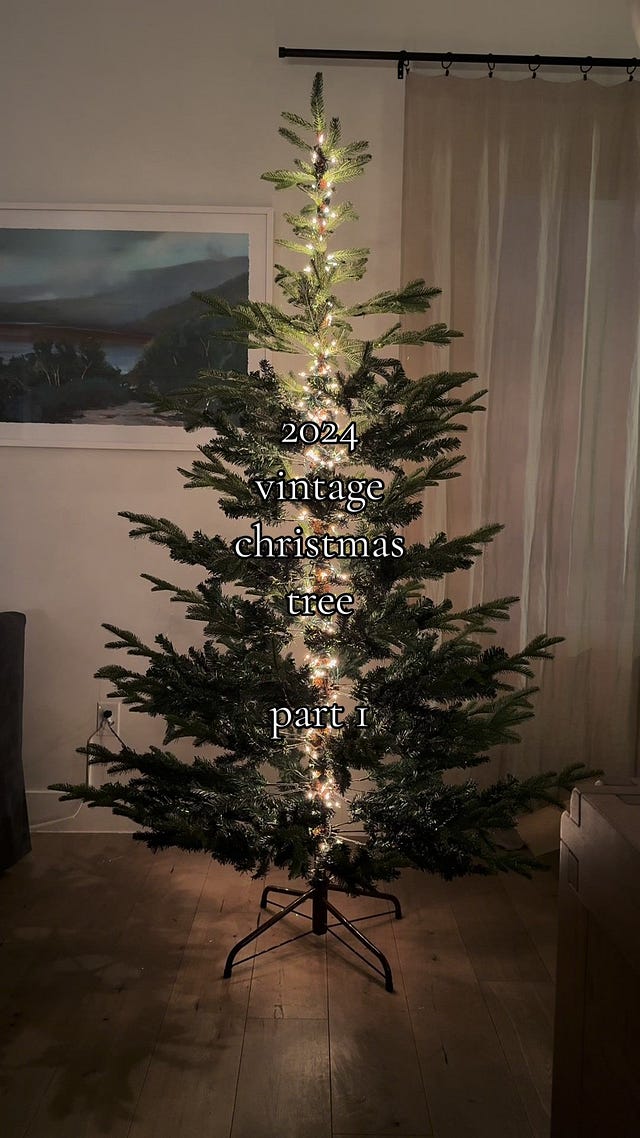
My tree stands at 7.5 feet tall and had about 1,300 lights on it last year, which breaks down to about 175 lights per foot. I use warm white incandescent lights with green wire for a classic look.
The secret to making your tree really glow from within is wrapping the trunk with lights—it makes all the difference! For this, I use a string of 250 lights. I simply walk around the tree, wrapping the lights around and around, all the way up, down, and back up again. It’s a bit tedious, but totally worth it for that soft, glowing effect!
 Tiktok failed to load.
Enable 3rd party cookies or use another browser
Step Three: Ornaments, pt. 1
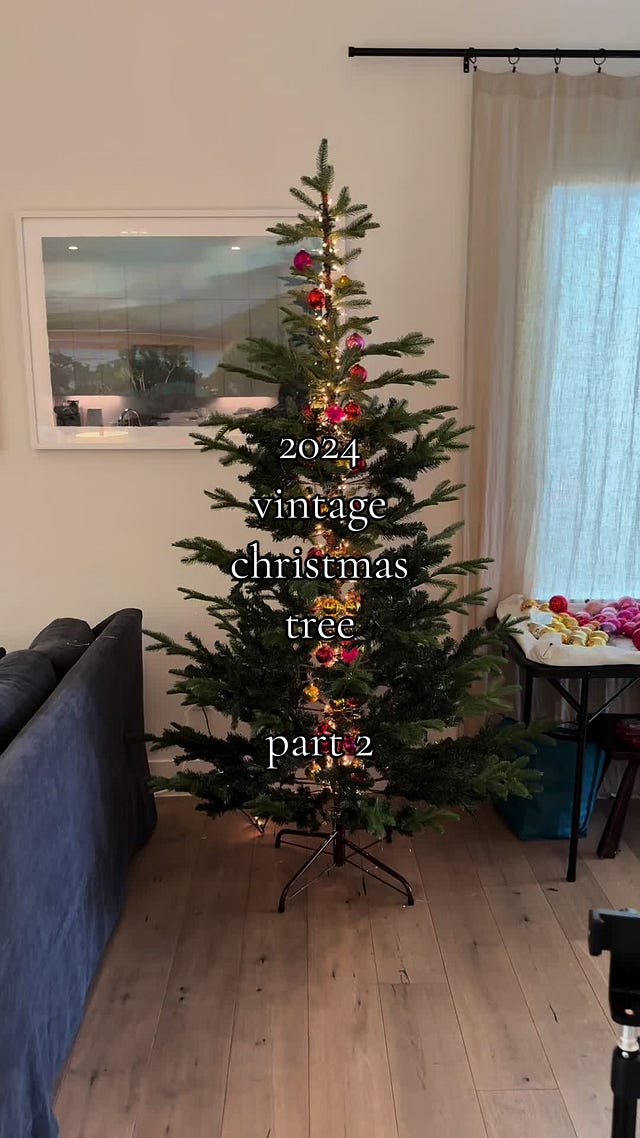
After wrapping the trunk with lights, the next step is to add warm-toned baubles all around it. This will create a soft, pinkish-golden glow from within the tree. And yes, we’re doing this before fluffing the branches—trust me, it’s easier this way!
Gather 20-30 medium-sized baubles (I’ll get into size descriptions later) in shiny pink, red, orange, and gold tones. Evenly space the baubles up and down the trunk to achieve a balanced, glowing effect.
 Tiktok failed to load.
Enable 3rd party cookies or use another browser
Step Four: Fluff the tree
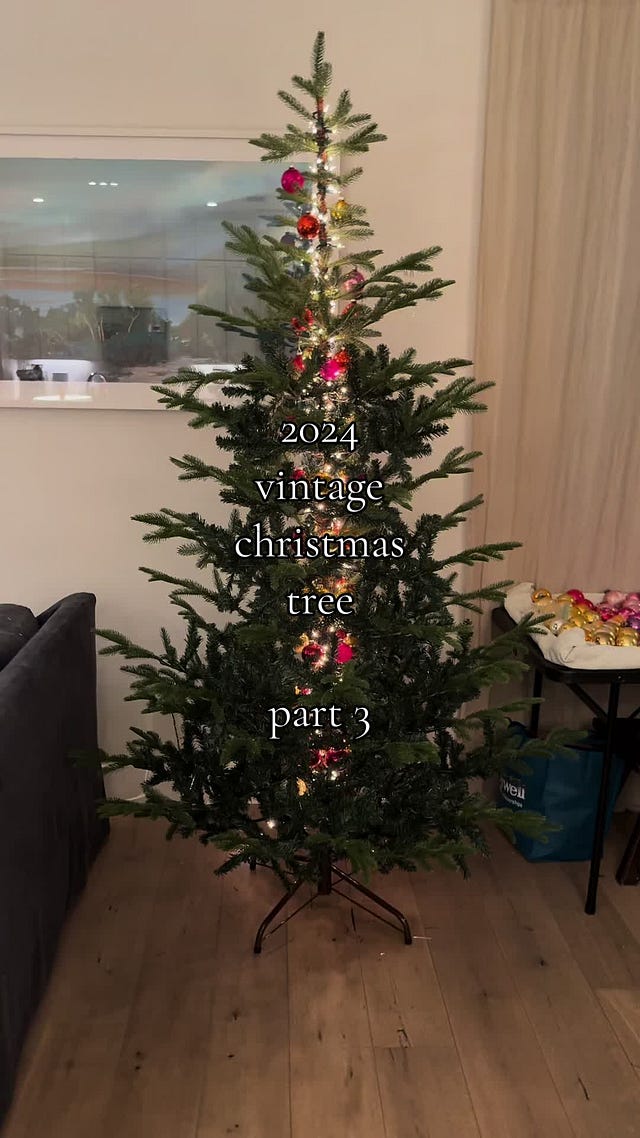
We all know how to do this, right? Separate and spread out each individual branch tip, fanning each of them out to create a fuller, more natural appearance. Spread the branch tips away from the trunk and slightly bend them upwards to mimic the look of a real tree.
 Tiktok failed to load.
Enable 3rd party cookies or use another browser
Step Five: Lights, pt. 2
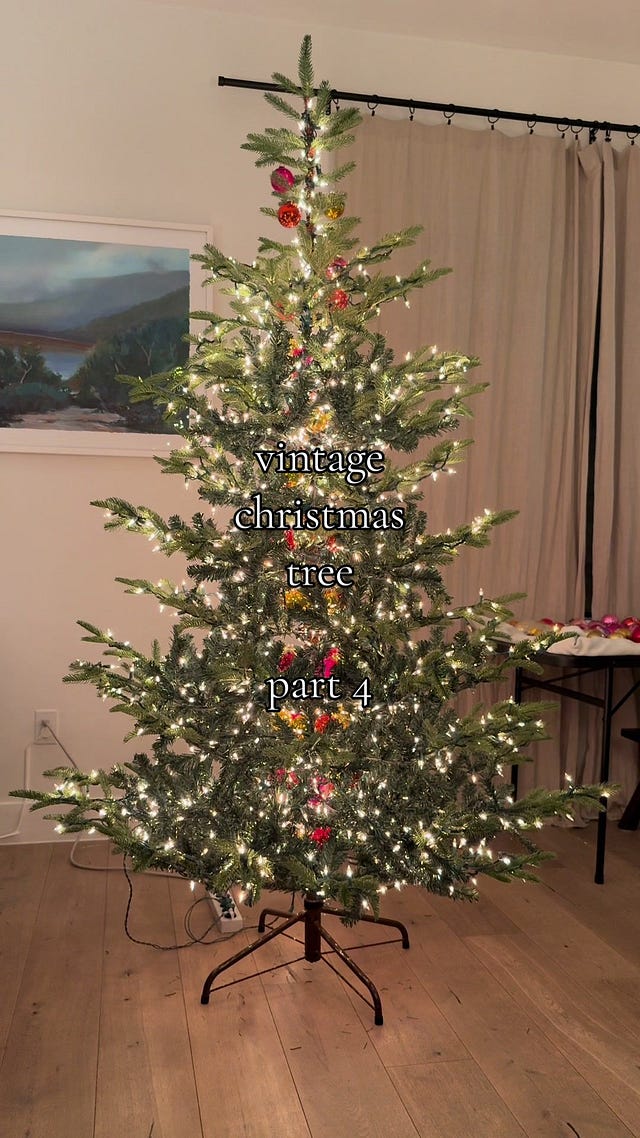
Now we add lights to the branches! Start at the base of each branch near the trunk. Work outward, wrapping the string of lights over the tip and then pulling them back over and toward the base again. Move to the next branch and repeat.
 Tiktok failed to load.
Enable 3rd party cookies or use another browser
Step Six: Ornaments
My biggest tip? Get organized! Last year, I had about 600 vintage ornaments on my tree, and I don’t think it would’ve turned out nearly as well if I had just placed them randomly. The key is to layer your ornaments from the inside out, starting with the largest ones and finishing with the smallest. This approach creates depth and ensures everything looks intentional and balanced!
Before you start, sort your ornaments by size – I use fruits for comparison:
Large: Grapefruit
Medium: Apple
Small: Apricot
Tiny: Cherries or grapes
I also recommend sorting out the “drippy” looking ornaments. These typically look like icicles.
Here’s how to finish placing your ornaments:
Add Cool-Tones: After adding a layer of warm-toned baubles, it’s time to balance it out with cool-toned baubles (blues, greens, silvers, purples). Use about half as many as the warm tones and evenly space them around the trunk.
Add Large Ornaments: These are usually rare and more expensive—I have about five. Nestle them just outside the cool-toned layer, where they can stand out beautifully.
Add Medium Ornaments: Place these mid-branch. They come in all shapes, colors, and patterns, so mix the unique ones with standard baubles for visual variety. Aim to use as many as possible—last year, I had around 200–250 on my tree!
Add Small and “Drippy” Ornaments: These go on the branch sections just before the tips and start to create a whimsical effect. Each branch should have 2–3 Smalls, especially near the top of the tree where they fit best.
Finish with Tiny Ornaments: Use these at the very tips of the branches to complete the look and fill any gaps. They’re perfect for adding those final touches of sparkle and charm!
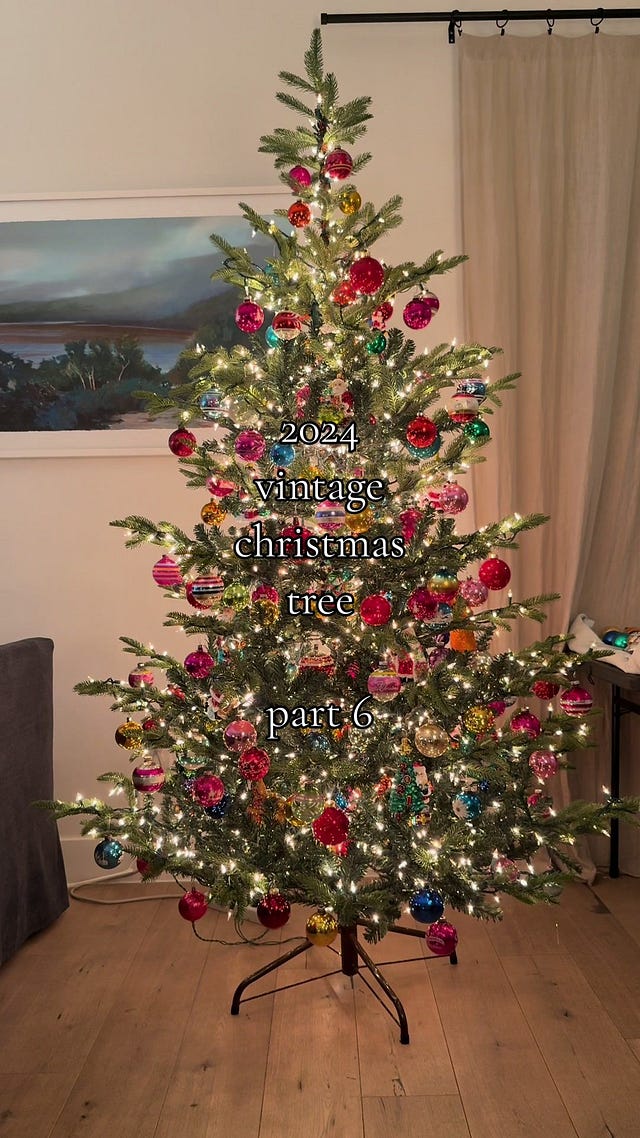 @evasmithholidayPart 6! Layering ornaments 🫧 This is the most FUN part! The KEY is to work from the inside of the tree outward. The biggest ornaments going in closer to the inside of the tree and the smallest ornaments going on the outer parts of each branch. I’m working on a simplified, scaled back version of my tree this year because we’re moving. So I pulled most of my multi-colored vintage baubles out and leaned into the 🫧✨🫧✨ look! I’m really happy with how it’s turning out! I initally had my large Radkos on the tree but then decided that I didn’t like how it looked so I took them off. That’s the beauty of putting a tree up over time! You can step back a zillion times and move things around. #christmas #fyp #vintagechristmas #vintagechristmastree #christmastiktok #holidaytiktok #vintagechristmasdecor #vintagechristmasdecorations #shinybrite #christopherradko
Tiktok failed to load.
Enable 3rd party cookies or use another browser
Step Seven: Garland
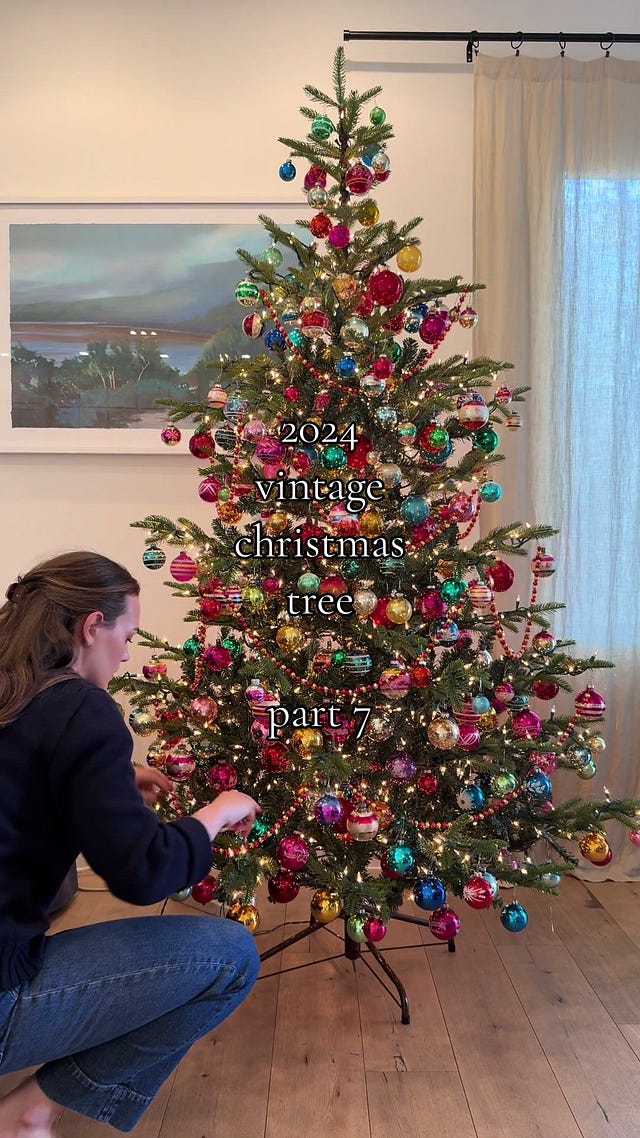
Vintage glass bead garland is truly so special! I have about 10 strands, each approximately 24 inches long. When placing the garland, I mentally divide the tree into four horizontal sections and use at least two strands of garland per section. I attach the ends of each strand to branches, spacing them far enough apart to cover a good portion of the section. At the same time, I leave just enough slack in the garland so it forms a graceful, eye-catching bow.
 Tiktok failed to load.
Enable 3rd party cookies or use another browser
Step Eight: Tinsel
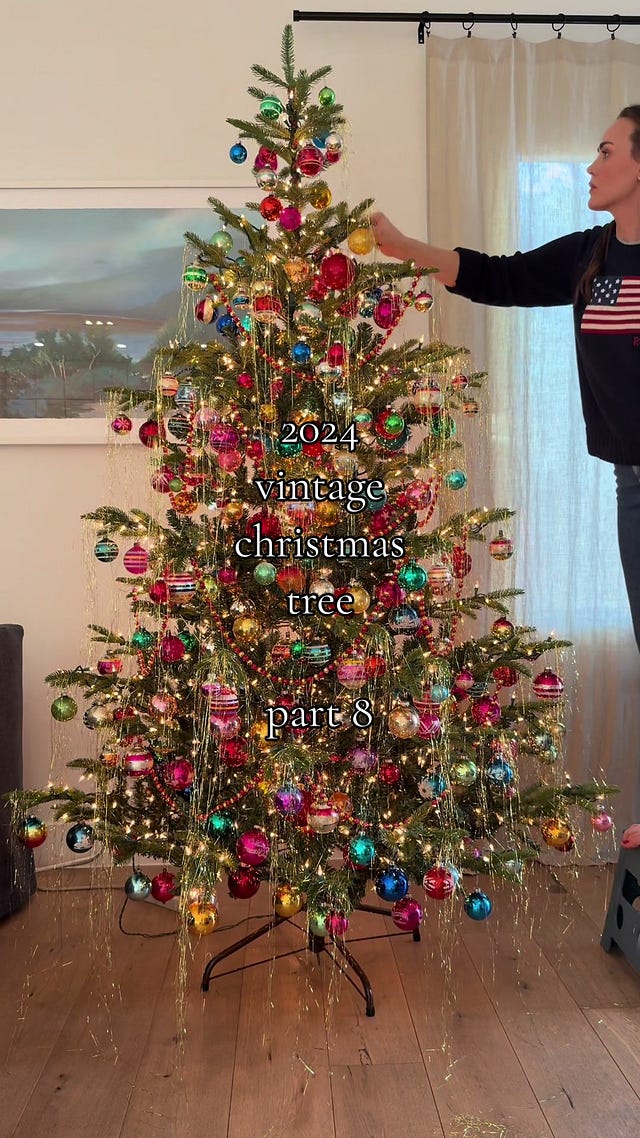
I love a light dusting of fine gold tinsel on my tree—it adds just the right touch of sparkle. That said, tinsel color is all about personal preference (I’m partial to gold, probably because I also love fine gold jewelry!). For me, it’s not about covering the tree but adding just enough tinsel to catch the light.
My method:
Use thin or fine tinsel for the best results.
Take a four-finger pinch of tinsel and place it gently on the tip of a branch, dragging it slightly as you go.
Not all the tinsel will stick—that’s okay!
Lightly tug on the tinsel that stays to remove any excess.
Repeat this process with each branch for an evenly dusted effect.
And as for removing it... don’t ask! I’m still figuring that part out myself!
**Editors note about tinsel: If you have pets, specifically cats, resist the urge to add tinsel. I did last year and we had a very panicked email exchange with our vet after discovering sweet Midge ate a few strands. It can be deadly! Better safe than sorry.
 Tiktok failed to load.
Enable 3rd party cookies or use another browser
Step Nine: Tree Topper
I’m partial to finial tree toppers. They draw your eye up and feel like the perfect exclamation point on a vintage tree. Mine is from John Derian in New York City. It’s the most amazing store at Christmastime.
I also adore stars and bows as tree toppers. Every year, my husband and I decorate a “memory tree” filled with a mix of travel ornaments and keepsakes. For the topper, we use a bow that was originally tied to a birthday present he gave me in December 2019. It’s such a cute and sentimental touch!
Step Ten: Tree Skirt or Collar
I feel very strongly about this: the “stump” of an artificial tree should never be visible. My current solution is a glittery gold hexagonal collar from Target. It was only about $15, but it gives the tree a much more polished and finished look than a tree skirt alone. However! When I find the perfect tree skirt, my plan is to layer them—the skirt to give the tree a larger footprint, with the collar on top for added polish. It’s a bit extra, I know, but honestly, this entire project is extra…and I love it that way!

 Tiktok failed to load.
Enable 3rd party cookies or use another browser
Thank you so, SO much Eva for taking the time to write down your process for us. Your wisdom is invaluable!
Now it’s time for me to start organizing my ornaments! Wish me luck!


Thank you! Great tip about taking those steps before fluffing. :)
I’ve never really thought of having method to decorate a tree and I love this! I love the use of color theory and size to create depth and balance; makes so much sense!